Looking to create some cozy nooks without tearing down walls? You can totally whip up room dividers that don’t require renovations! Think bookshelves for a personal library vibe, or lightweight fabric hangings for a chic, bohemian touch. Don’t forget to contemplate folding screens—they’re like quick privacy walls on demand. You can even get crafty with hanging plants. Seriously, the options are endless, and I can’t wait to share more ideas that’ll fit perfectly in your space!
Design Highlights
- Use bookshelves as room dividers by filling them with decor and plants to enhance organization and aesthetics without requiring construction.
- Create fabric hanging dividers using lightweight materials and curtain rods for an easy, stylish, and flexible separation of spaces.
- Incorporate folding screens that can be easily moved and stored, providing privacy and decorative flair without permanent changes.
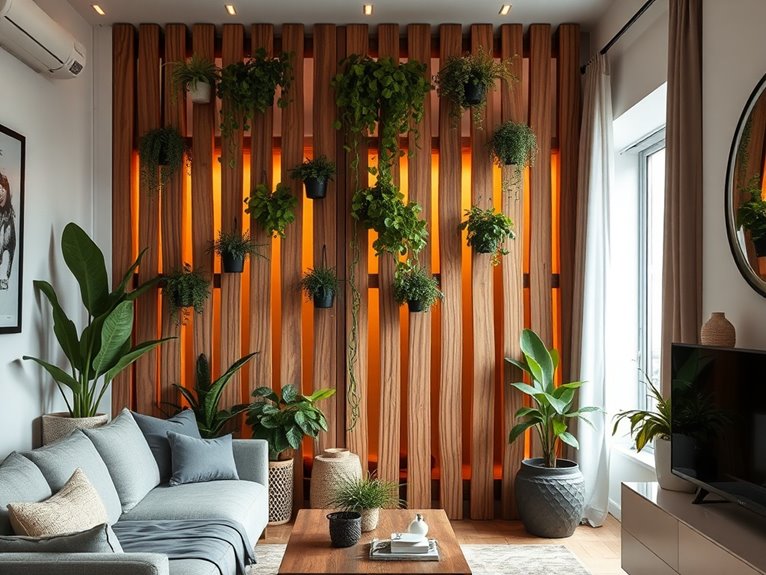
- Utilize tall plants as natural dividers, enhancing the atmosphere and bringing life to the space while maintaining an open feel.
- Transform curtains into dividers by selecting suitable fabrics and rods, allowing for versatile separation and an appealing design element.
Creative Uses for Bookshelves as Room Dividers
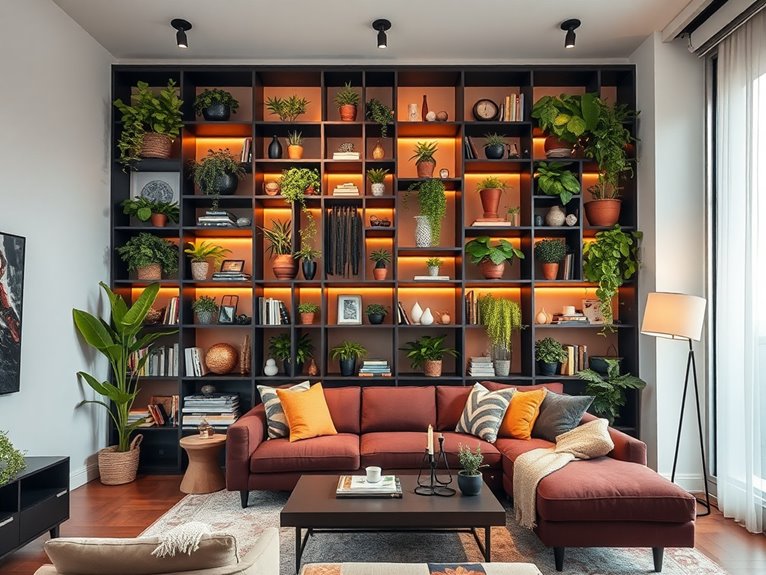
If you’re looking to transform your small space with a touch of creativity, using bookshelves as room dividers is a fantastic idea! Imagine walking into a cozy nook that feels both open and defined. Start by choosing a sturdy bookshelf—one that’s not too tall, so it doesn’t overwhelm the area. Position it strategically to separate spaces while allowing light to flow through. Fill it with your favorite books, plants, or quirky decor to add personality. You can even mix in some baskets for extra storage. If you’re like me and can’t resist a good bargain, thrift stores are a treasure trove! Just remember, balance is key; don’t let your divider become a clutter magnet. Happy decorating!
How to Create a Fabric Hanging Divider
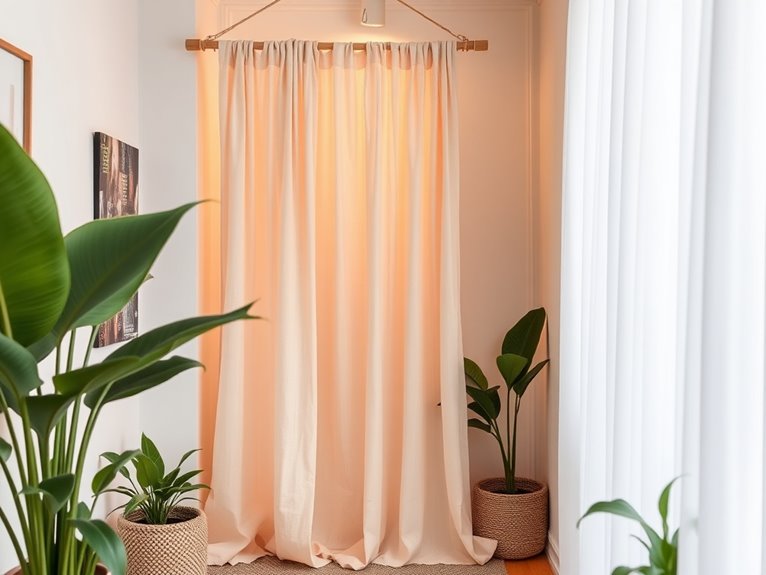
Creating a fabric hanging divider is a brilliant way to add some flair to your small space while keeping things cozy and organized. First, grab some fabric—lightweight works best, like cotton or linen. Measure your area, cut the fabric a bit longer than needed, and hem the edges (you can totally do this; I promise!). Next, find a sturdy curtain rod or a tension rod. Attach it to the ceiling or wall, depending on your vibe. Now, use clips or rings to hang the fabric. I once tried to staple it—don’t do that! Finally, you can jazz it up with some fun patterns or colors. Voilà! You’ve got a stylish divider that’s functional and fabulous.
Why Folding Screens Are Great for Small Spaces
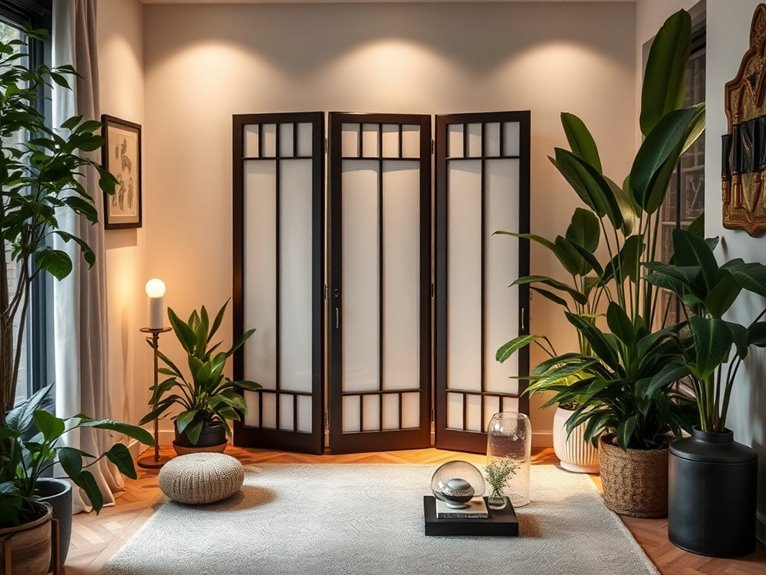
When you’re short on space but want to create distinct areas in your home, folding screens are an absolute lifesaver. They’re versatile and stylish, plus they can easily be moved around. Here’s why I love them:
- Instant Privacy: Need a little alone time? Just unfold that screen and voilà—your own cozy nook appears, like magic!
- Creative Decor: You can choose screens that match your style. Whether it’s boho, modern, or vintage, there’s a screen for you.
- Easy Storage: When you don’t need it, just fold it up and tuck it away. It’s like having a secret weapon against clutter!
How to Use Plants as Room Dividers
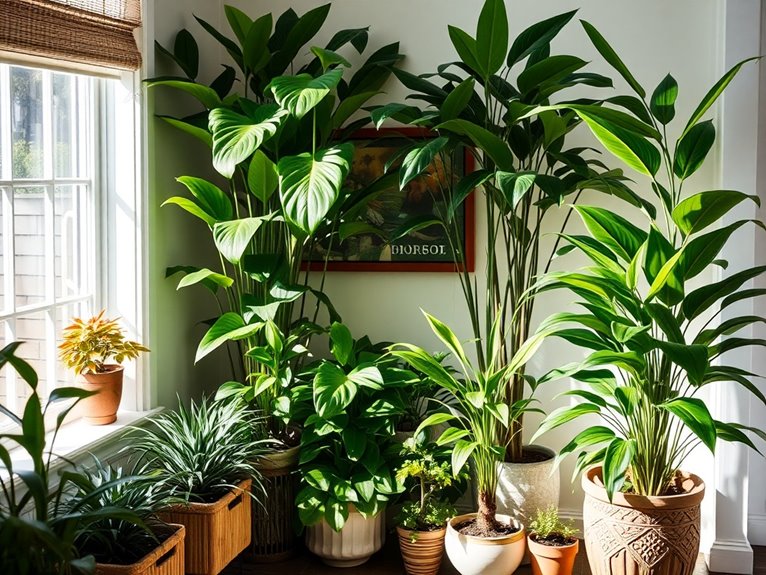
Plants can be your best friend when it comes to dividing a room without sacrificing style. I love using tall plants like fiddle leaf figs or snake plants to create a natural barrier. Just find a corner, then place your plants in stylish pots that match your décor. If you’re feeling adventurous, group smaller plants on a shelf or table—it’s like a mini jungle! You can also hang trailing plants from the ceiling; they’ll cascade down and add a lush vibe. Just remember, light and watering needs matter, so pick plants that can thrive in your space. Trust me, your room will feel cozier and more inviting, and you might even impress friends with your botanical skills!
Transforming Curtains Into Stylish Dividers
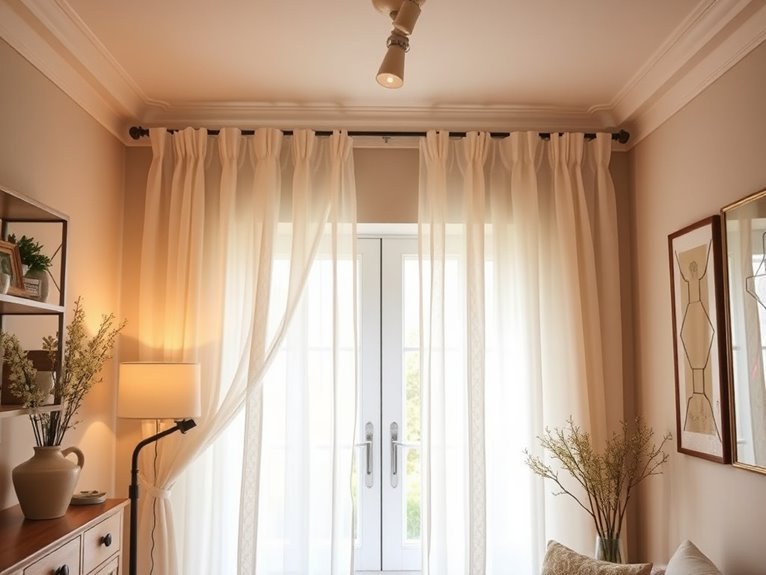
If you’re looking to add a touch of flair to your space, using curtains as room dividers can be a game-changer. Trust me, it’s easier than it sounds! Here’s how to do it:
- Choose Your Curtains: Pick a fabric that matches your style—sheer for a light look or heavy for coziness. I once got lost in a fabric store for hours, but it was worth it!
- Select Your Rods: You can use tension rods for easy installation or wall-mounted ones for sturdiness. Just avoid the cheap ones; they tend to droop like my confidence during karaoke night.
- Hang and Style: Simply hang the curtains where you want the division. Play with tie-backs or clips for a chic finish. Voilà, instant style!
Pallet Walls as Rustic Dividers
While you might think of pallets as mere shipping materials, I assure you they can transform your space into a rustic haven. First, gather a few pallets—check local stores or marketplaces; you’ll be surprised how many people want to get rid of them. Sand them down to avoid splinters unless you’re aiming for the “authentic barn wood” look, which might just be my excuse for laziness. Next, stack them vertically to form a divider; you can attach them to the wall for sturdiness. Paint or stain them if you want a pop of color or keep it natural for that cozy vibe. Just make sure to measure twice before cutting! Trust me; you don’t want a lopsided divider.
Create Space With a Sliding Barn Door
Who doesn’t love the charm of a sliding barn door? They’re not just stylish; they’re a brilliant space-saver! I recently installed one, and it transformed my cramped room. Here’s how you can create your own sliding barn door divider:
- Select Your Door: Find an old door, or buy a new one. I went for a rustic finish that adds character.
- Mount the Hardware: You’ll need a sliding track kit. Installing it took me a minute—just follow the instructions, and don’t be like me, forgetting to measure twice!
- Hang It Up: Once the track is secure, hang your door and adjust it until it glides smoothly.
Trust me, it’s easier than it sounds, and the results? Totally worth it!
Building Dividers With Repurposed Windows
Imagine transforming your space with a unique touch that not only divides but also showcases your creativity. Repurposing old windows into room dividers is one of my favorite projects. First, gather a few mismatched windows—check your local thrift store or ask friends. Clean them up, choose a paint color, and give them a fresh coat for personality. Next, use sturdy brackets to secure them to the ceiling or the floor, creating a stunning divider. If you’re feeling adventurous, add some sheer curtains in between for softness. Just remember, I once tried to hang mine without proper support—let’s just say it didn’t end well. So, be sure to measure twice and secure them well! Your space will thank you.
Versatile Room Divider Panels You Can Make
After you’ve had fun with those repurposed windows, let’s talk about room divider panels that are just as versatile and can fit any style you’re aiming for. You can easily create your own stunning dividers with a bit of creativity and some materials. Here are three ideas to get you started:
- Fabric Panels: Stretch colorful fabric over a lightweight frame. It’s like hanging art, but you get privacy too!
- Wooden Slats: Use simple wooden slats to create a rustic look. You can paint or stain them for extra flair.
- Cork Board: A cork board can double as a pin-up space and a divider. Talk about multi-tasking!
Crafting a Mobile Room Divider on Wheels
Creating a mobile room divider on wheels can be a game-changer for your small space, and trust me, it’s easier than it sounds! First, grab a large piece of plywood—something around 4×8 feet works well. Cut it in half to create two panels. Attach hinges to connect them, giving it that folding capability. Now, here’s the fun part: add caster wheels to the bottom corners. Make sure they can lock, or you’ll end up chasing it across the room like a rogue pet. I painted mine in a funky color, but you could also use fabric for a softer look. Just remember, if I can do this without turning it into a Pinterest fail, so can you!
DIY Art Ideas for Room Dividers
While you might think room dividers are all about functionality, they can also be a canvas for your creativity. Trust me, I’ve had my share of “artistic endeavors” that turned into hilarious disasters, but that’s part of the fun! Here are three DIY art ideas to transform your room divider into a masterpiece:
- Fabric Panels: Use colorful fabric swatches. Just wrap them around a frame or use a staple gun. Easy peasy!
- Photo Collage: Print your favorite memories and attach them with clips or string. This way, you can relive those moments every day!
- Chalkboard Paint: Paint one side with chalkboard paint. You can doodle, write quotes, or leave notes for your roommates.
Tips for Choosing the Right Divider for Your Space
Choosing the right room divider can feel like picking a favorite child—difficult, right? First, think about your space. Measure the area to guarantee your divider fits without making you feel like you’re living in a maze. Next, consider the style. Do you want something modern, rustic, or maybe whimsical? I once thought a folding screen would work, but it ended up clashing with my decor like a cat in a dog show.
Also, factor in function. Is it just for privacy, or do you need storage too? Finally, think about materials. Lightweight options are great if you want to move things around, but heavier ones can add stability. Trust me, you’ll thank yourself later!