
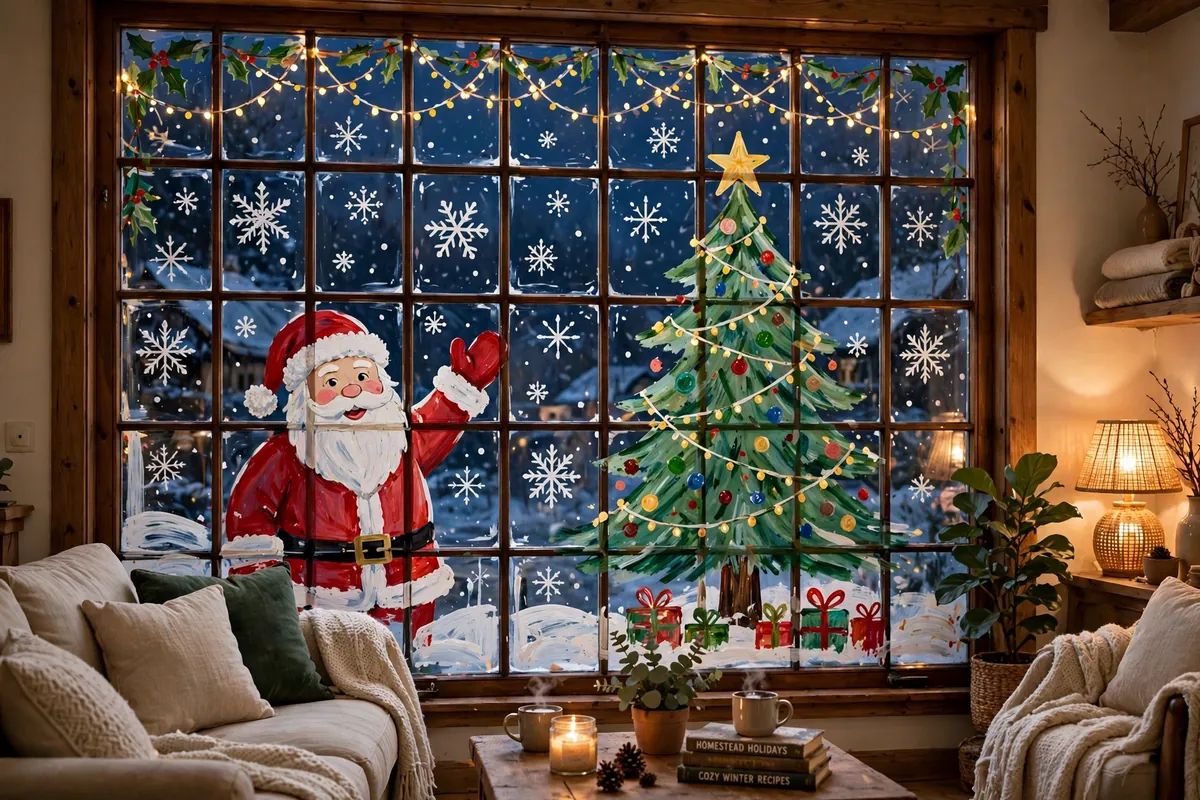
There is something quietly magical about a painted Christmas window. From the street it turns an ordinary house into a glowing storybook scene, and from inside it frames the dark December evening with colour, light and handmade joy. Unlike a tree or a wreath, a window painting is a canvas you can change every year — and it costs almost nothing. Most are made with washable tempera paint, acrylic paint pens, or simple white window markers, and they wipe off in January with warm water and a little washing-up liquid. That means you can be brave: try a big design, let the kids join in, and if a snowflake goes wonky, just wipe it off and start again. Here are 19 Christmas window painting ideas — from classic snowflakes a beginner can paint in ten minutes to full-window winter scenes that will stop people on the pavement. Each includes the paints to use, the technique, and tips that make the difference.
Table of Contents
1. Classic Snowflakes on Glass
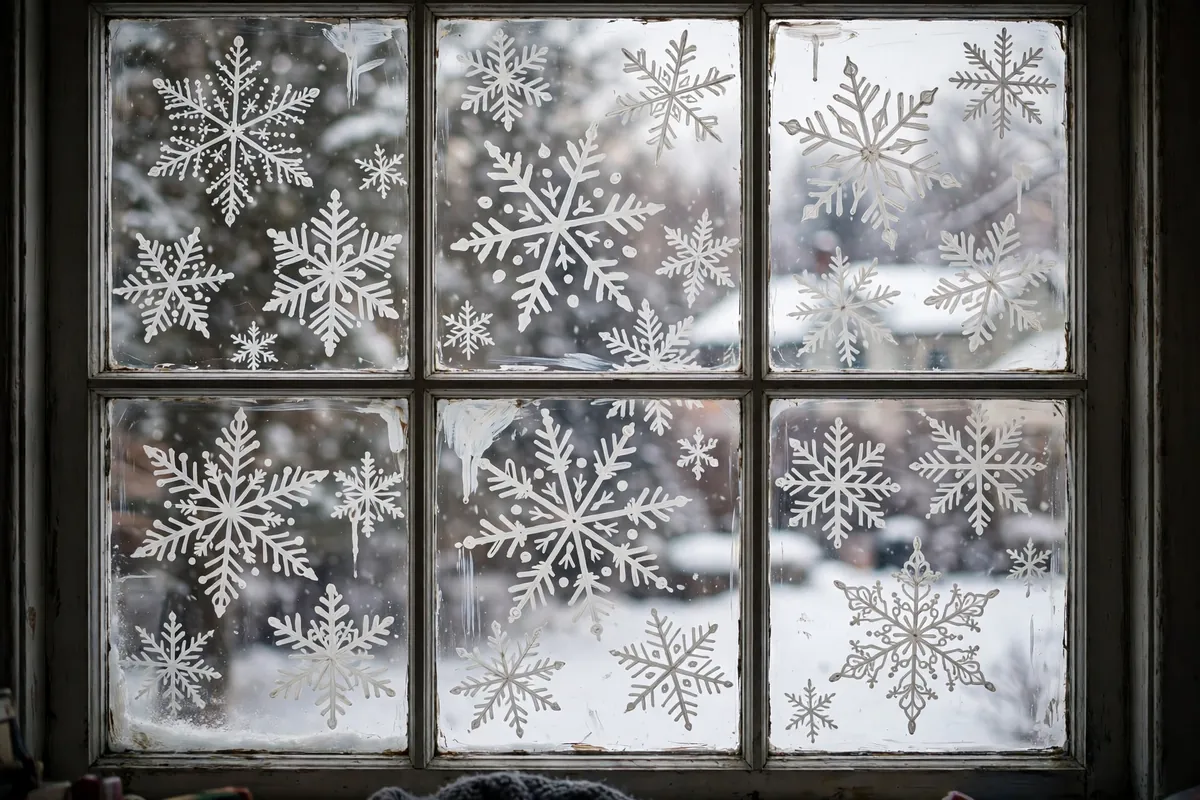
Snowflakes are the perfect first window painting: draw a cross, then an X through it, then add little branches off each arm. Vary the sizes — big flakes in the middle, smaller ones drifting to the corners — and the window feels like it is snowing. Use a white acrylic paint pen for crisp lines, or a brush and white washable tempera for a softer look. Work from the top down so you do not smudge finished flakes, keep a damp cloth nearby. Keep them all white, or add just one accent — pale blue or silver glitter — and leave plenty of clear glass between them. Too many packed together looks like frost; spaced-out flakes look like real snowfall. Add fake snow spray along the bottom edge to ground the design.
2. Frosty Winter Village Scene
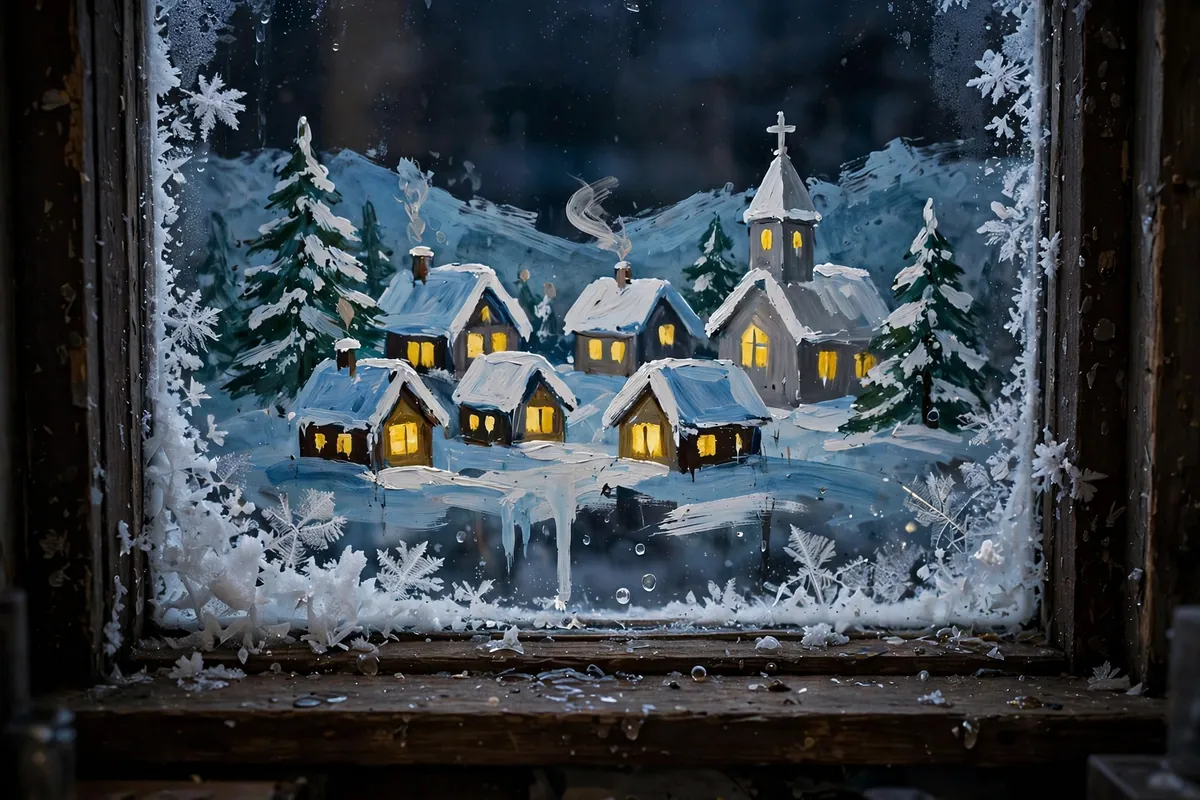
Paint a row of little houses along the bottom — triangles for roofs, rectangles for walls, tiny squares for windows — then dot each window with warm yellow paint so the houses look lit from inside. Add a church with a steeple, snow-covered pines, a curl of smoke from a chimney. Sketch first in white chalk or washable marker to get spacing right. Keep houses in one or two colours — deep red, forest green or warm brown — with white roofs and snow on every ledge, yellow windows as the only bright colour. Finish with stars, a crescent moon, white dots for falling snow. Place fairy lights just behind the window so the yellow windows seem to glow for real.
3. Santa Claus Waving Through the Window
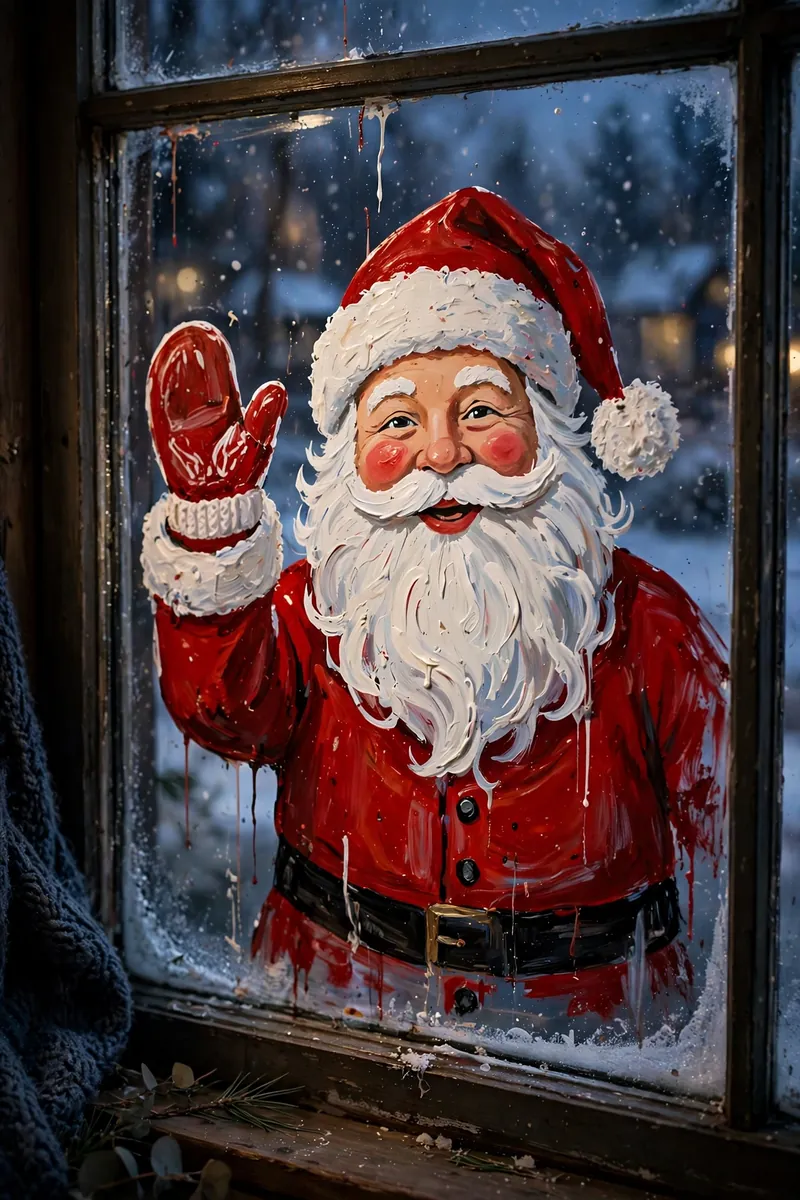
Paint Santa big and bold in the centre — round red hat, white beard filling the lower half of his face, rosy cheeks, one big mittened hand raised in a wave. Large simple shapes read clearly from the pavement. Keep colours flat: red, white, black for boots and belt, pink for his nose. Sketch lightly in chalk first to check proportions. Make the beard wide and rounded like a cloud, add short white brush strokes for texture. Eyes are simple dots with white highlights, smile a single curved line. If faces worry you, paint Santa from behind waving over his shoulder. Add snowflakes around him and a sack of presents at the bottom corner, plus a speech bubble saying “Ho Ho Ho!”
4. Reindeer and Sleigh Silhouette
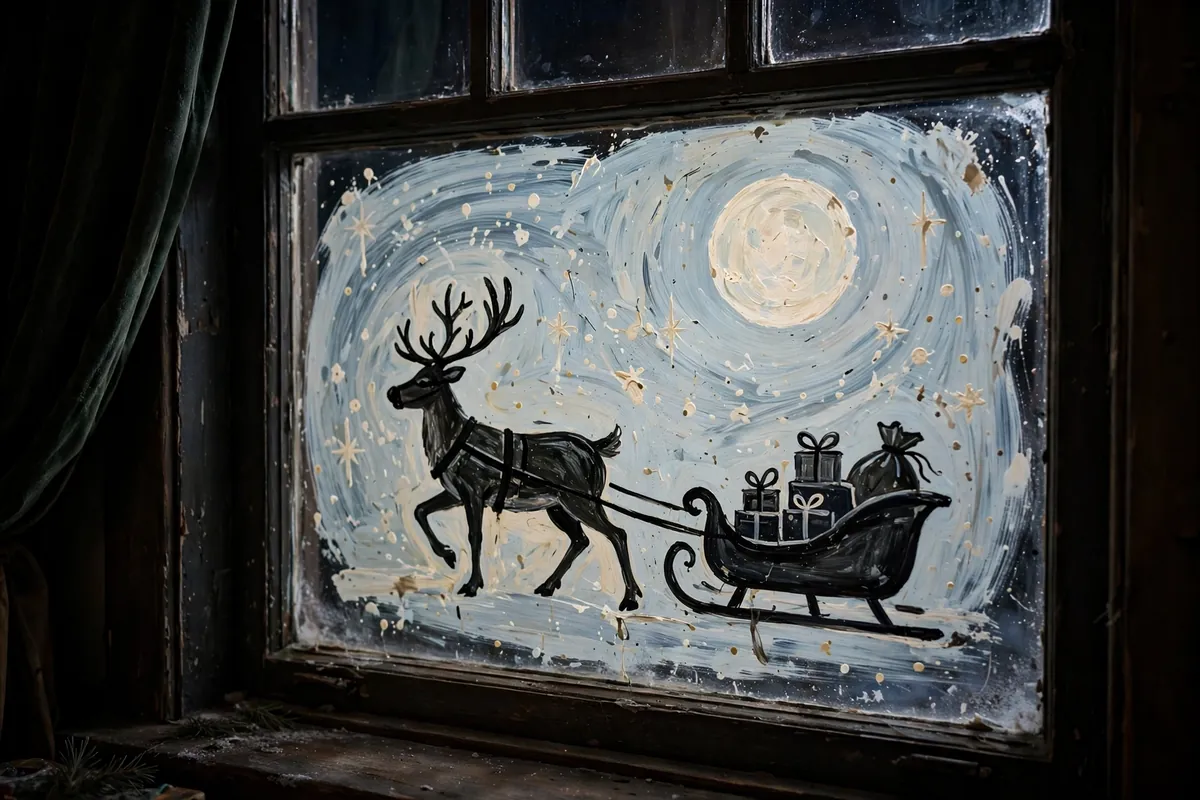
A silhouette is a single colour — black, deep navy or dark brown — so no shading or blending to worry about. The design is all outline: the curve of the reindeer’s neck, branching antlers, sweep of the sleigh, Santa’s sack piled high. Work from a template: print a silhouette, cut it out, tape it to the outside of the window and trace around it from inside, then fill in with a brush and black acrylic paint in thin layers. Set it against a painted night sky: wash the upper window in pale blue, add a big cream moon and white stars, paint the sleigh flying across the moon, with snowflakes drifting below.
5. Snowman Family
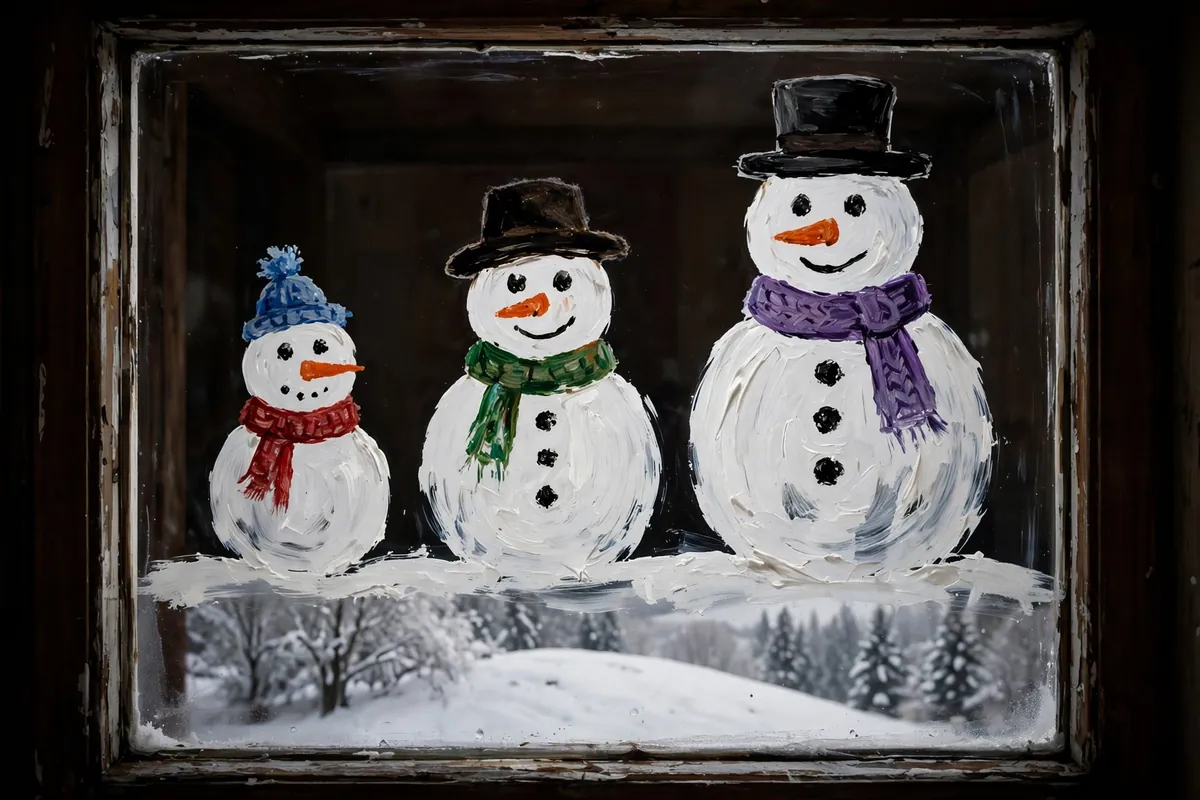
Paint three snowmen of different heights along the bottom — tall dad, medium mum, little one — each from two or three stacked circles, each with its own personality: top hat, striped scarf, carrot nose, coal eyes, twig arm waving. Children can paint the bodies while an adult adds faces. White paint can look patchy, so use two coats of white tempera or acrylic, letting the first dry fully. A sponge dabbed in circles gives a soft snowy texture with no brush marks. Use paint pens for details: black eyes and buttons, orange carrot nose, red or green scarves. Dab pink blush on cheeks with a fingertip. Ground them with a snowy hill along the bottom and a few falling snowflakes.
6. Christmas Tree Painted on the Window
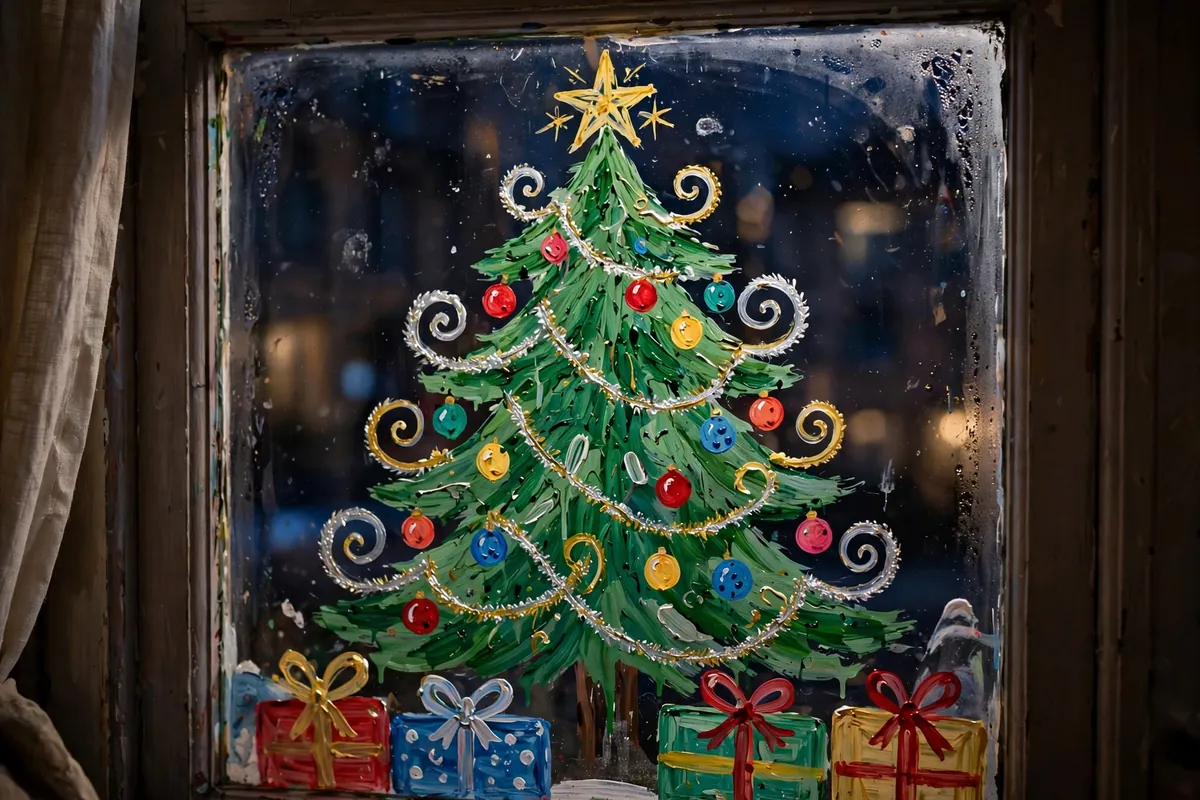
Perfect for homes with no room for a real tree. Paint a big triangle tree in the centre, narrow at the top and widening down, with wavy branches so it looks like a real fir. Decorate with painted baubles in red, gold and blue, a star on top, swirls of tinsel in silver or gold lines, presents underneath and a red-and-white tree skirt. Use deep teal or two greens — darker for branches, lighter for tips. Fill the triangle first, let it dry, then add branch texture with short downward strokes. Baubles are best with a round sponge or cork end dipped in paint for perfect circles; a paint pen is ideal for tinsel lines and the star. Works beautifully on a tall narrow window.
7. Twinkling Fairy Lights Border
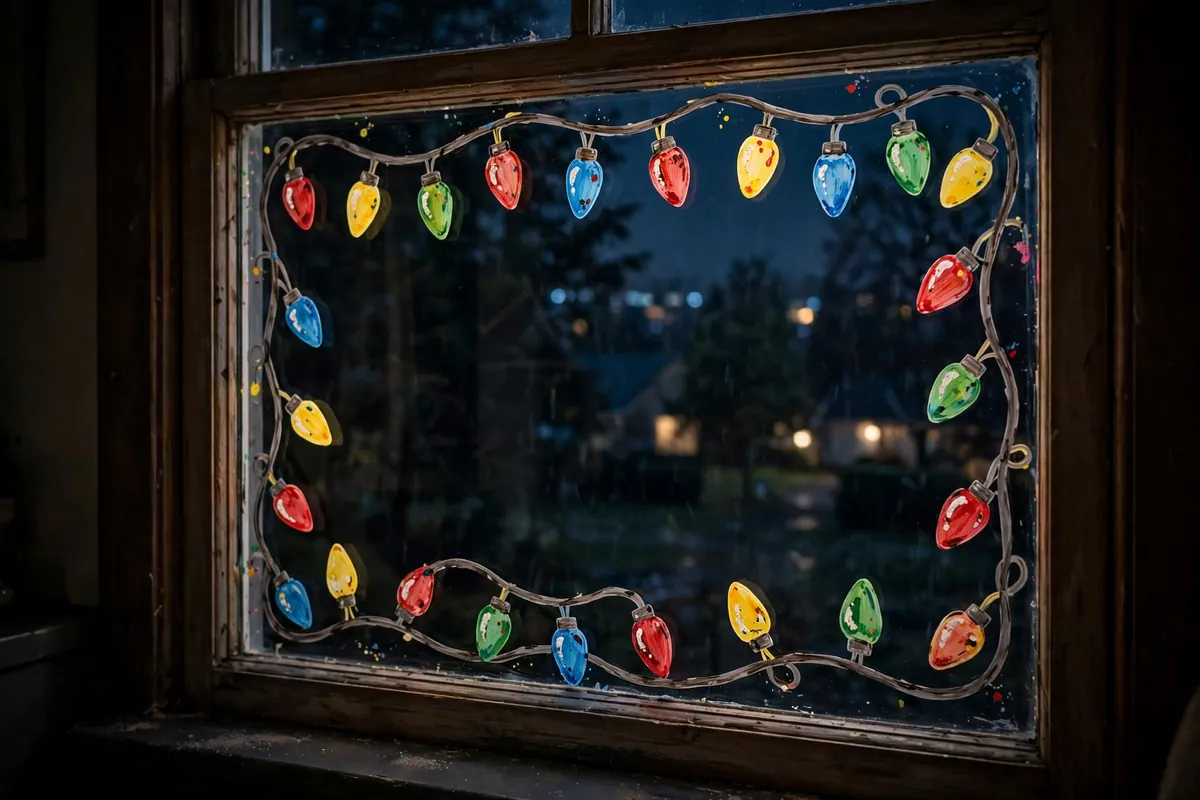
Paint a looping string of lights all the way around the edge — a wavy green or black line for the wire, with little painted bulbs hanging from it in red, yellow, green, blue and gold. It frames whatever is in the room, turns a plain window into a Christmas card, and takes less than half an hour. Use a paint pen for the wire so the line stays neat, paint each bulb as a small teardrop with a tiny white highlight dot to make it look lit. Alternate colours in a repeating pattern and vary the drop lengths. Add a dot of glitter or metallic gold paint to every fifth bulb, and a small bow where the string meets in the corners. Hang a real string of fairy lights just inside the window and the painted bulbs seem to glow with them.
8. Candy Canes and Peppermint Swirls
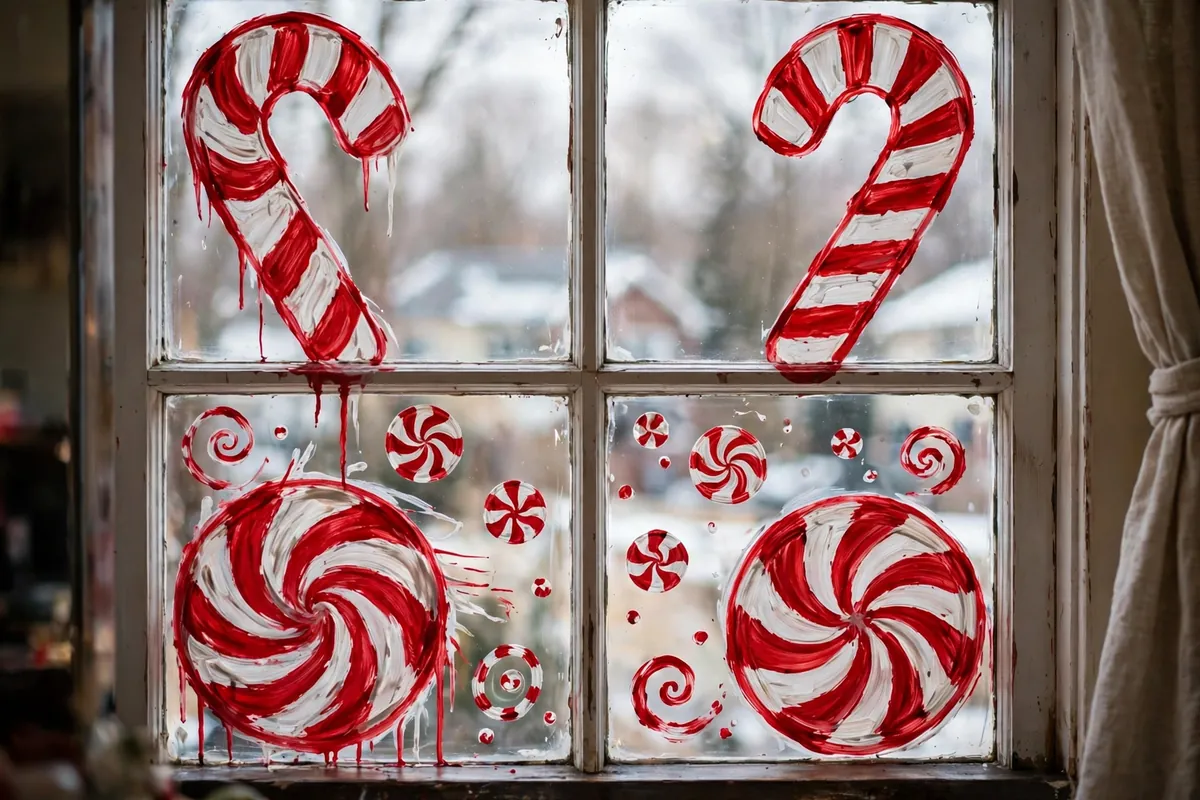
Paint big bold candy canes in the corners — thick white canes with diagonal red stripes, hooked at the top — and fill the spaces with peppermint swirls, red and white spirals even a five-year-old can paint. Red and white against clear glass lifts the whole room and reads as Christmas from a distance. Paint stripes by wrapping diagonal red bands around a white cane shape. For swirls, paint a white circle, then a red spiral from the centre winding outwards. Add small red dots and white snowflakes between the canes, and a red ribbon bow where two canes cross. Perfect for a kitchen window or a shop-style front window. Keep canes large — at least as tall as your hand.
9. Gingerbread House Scene
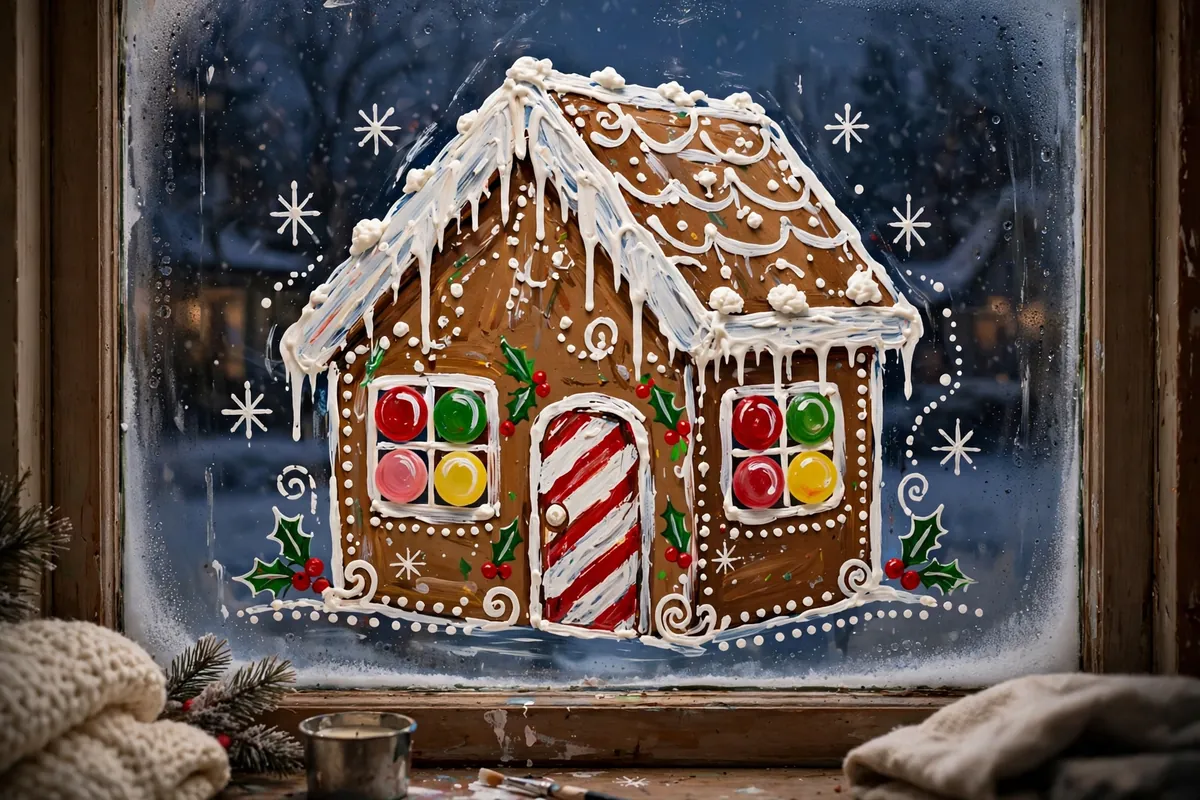
Paint a cosy house in warm brown with a roof thick with white icing snow, a candy-cane striped door, gumdrop windows and a chimney with a curl of smoke. Add a path of white dots to the door, a tiny gingerbread man waving from the window, snow on the roofline. Children love it because every part is a simple shape, and wonkier icing lines look more like real gingerbread. Use brown tempera for walls and white for icing — the contrast sells the look. A paint pen is perfect for icing details: wavy lines along the roof edge, dots for gumdrops, a neat rectangle for the door. Paint windows yellow and place a warm light behind the window in the evening so they glow. Works best low on the window, as if the house is sitting on the sill.
10. Winter Woodland Animals
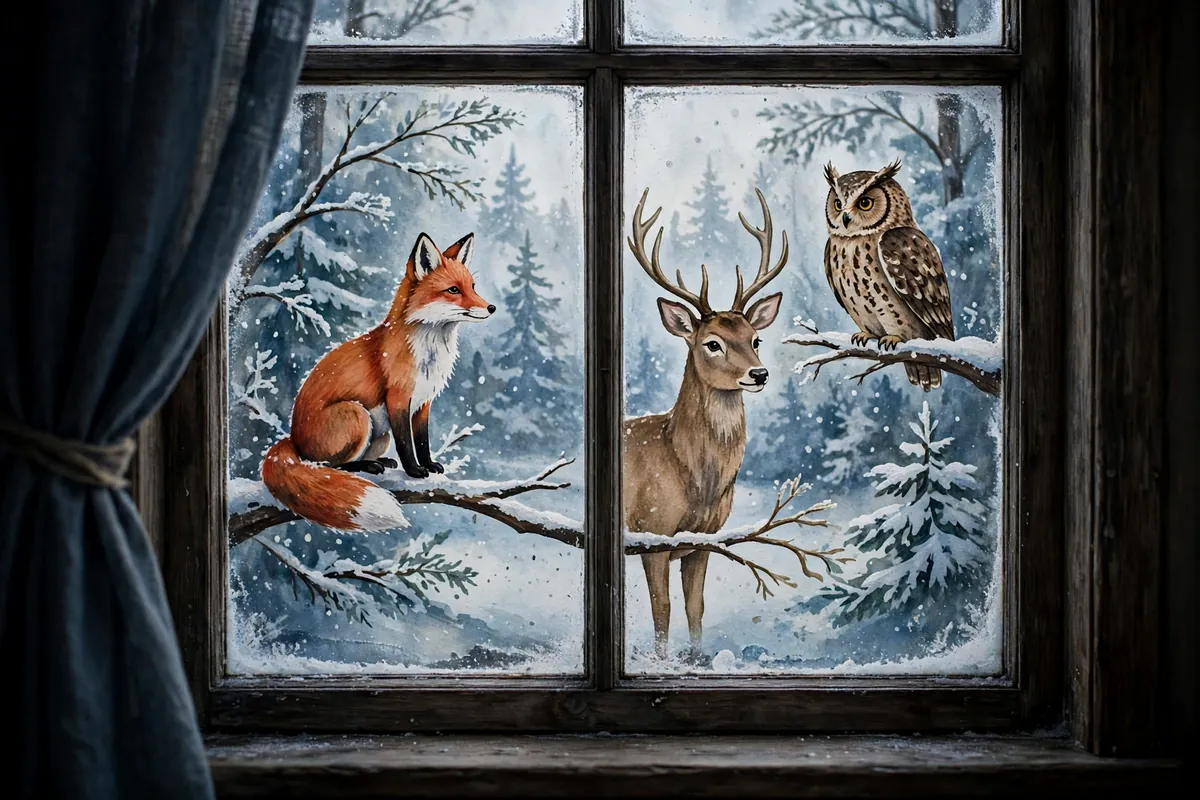
Woodland animals bring a quiet, storybook feeling. Paint one animal large and simply — a red fox sitting in the snow, a gentle deer with branching antlers, or a wide-eyed owl on a snowy branch. The fox is easiest: orange body, white chest, pointy ears, big bushy tail tipped in white, all simple curved shapes. Start with the outline in chalk, fill in with a brush in flat blocks of colour rather than blending fur. Add details with a paint pen — whiskers, shiny nose, white tip of the tail — keep the face simple. Set it in a snowy scene: painted pine trees behind, white dots for falling snow, a soft blue wash across the top for a winter sky.
11. Nutcracker Soldier
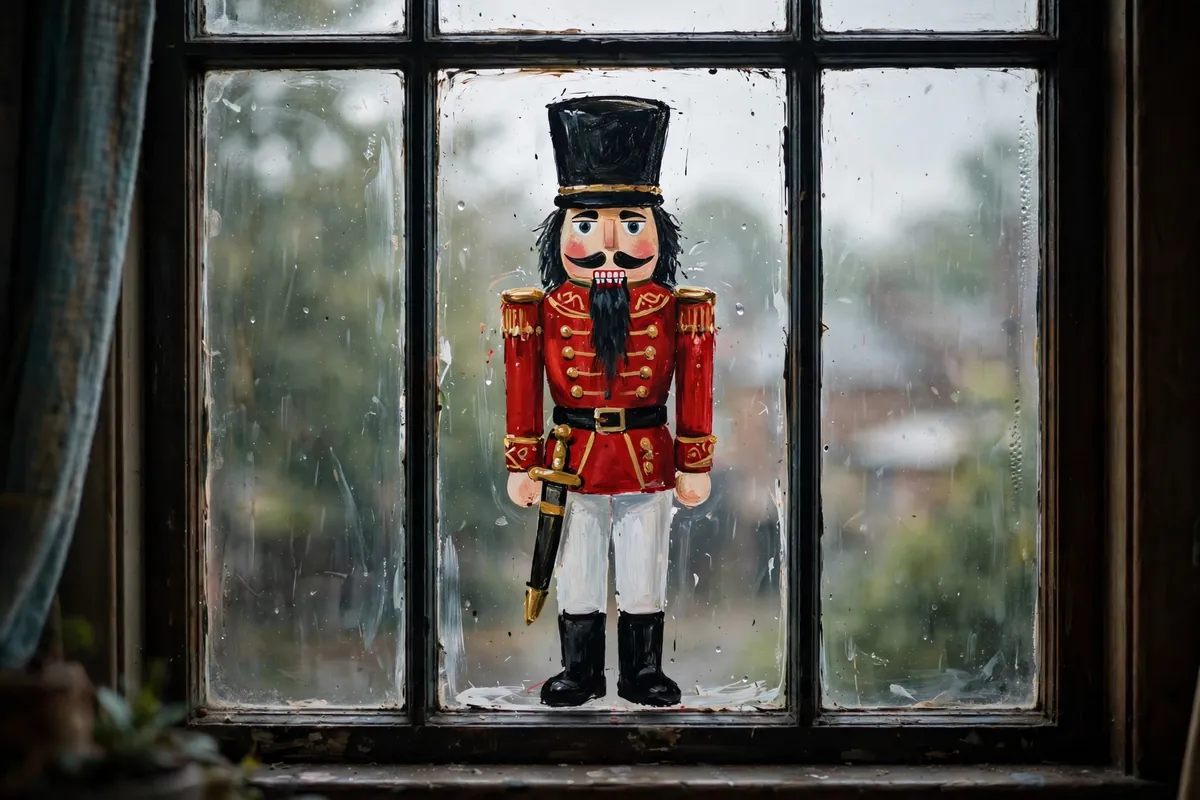
Paint him tall and straight in the centre — tall black hat, red jacket with gold buttons, white trousers and black boots, sword at his side. A nutcracker is made from straight lines and rectangles, so he is much easier than he looks: hat is a rectangle, jacket a rectangle, legs two more rectangles, face a simple oval with a moustache. Children can paint the big blocks of colour while an adult adds buttons and face. Use a paint pen for details — gold buttons down the jacket, white teeth, gold braid on the hat — and a brush for large flat areas. Paint a pair flanking the window like guards, one on each side, with a garland or presents between them, or one big nutcracker with a tree behind him.
12. Angel and the Star of Bethlehem
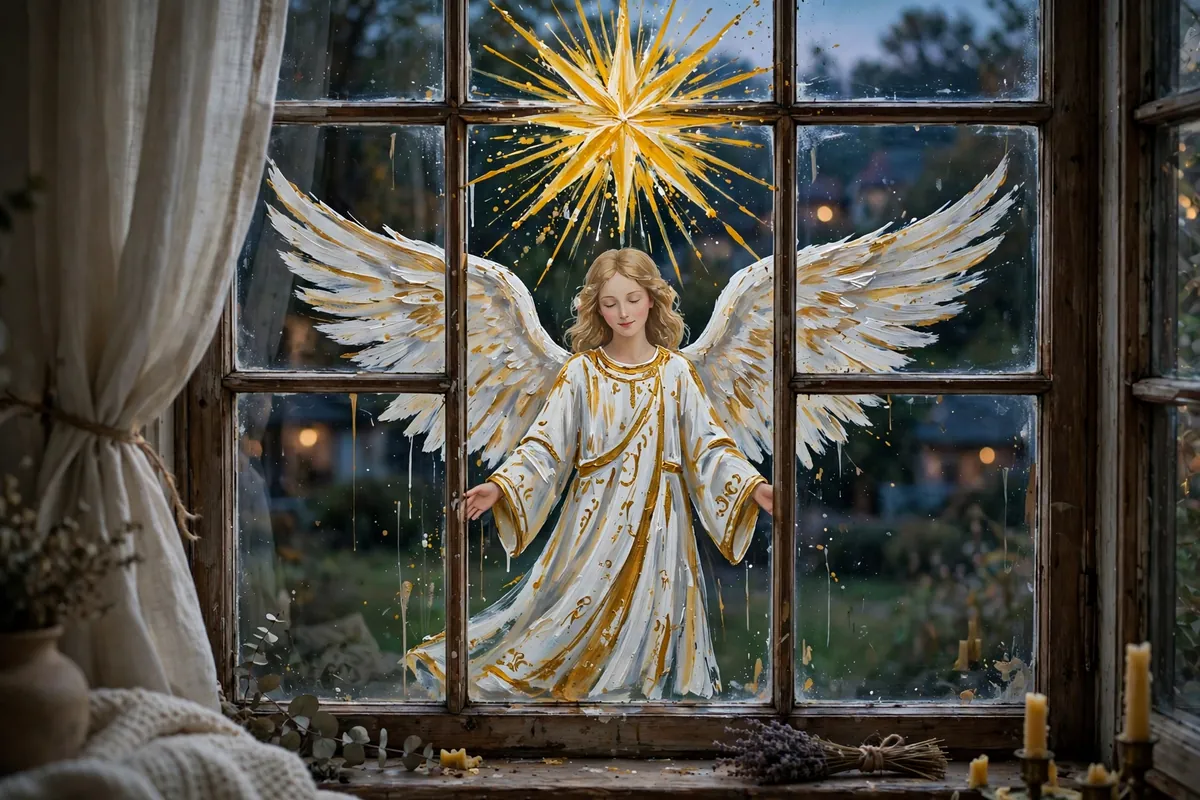
Paint a gentle angel in the centre — flowing white or gold robe, soft wings spread wide, hands folded — with one large bright star shining above her. Make the star bigger and brighter than anything else, with long rays reaching out, so it reads as the Star of Bethlehem. Use gold and white, with pale blue for the night sky. Paint the robe white with gold trim, wings in soft cream with gold glitter along the edges, halo as a thin gold circle. A paint pen is ideal for fine details — feathers, rays of the star, her smile — while a brush handles the large flowing robe. Place the star high so it catches the eye from the street, add smaller stars and a crescent moon around them, and a soft pale blue wash across the top.
13. Snowy Pine Trees and Forest
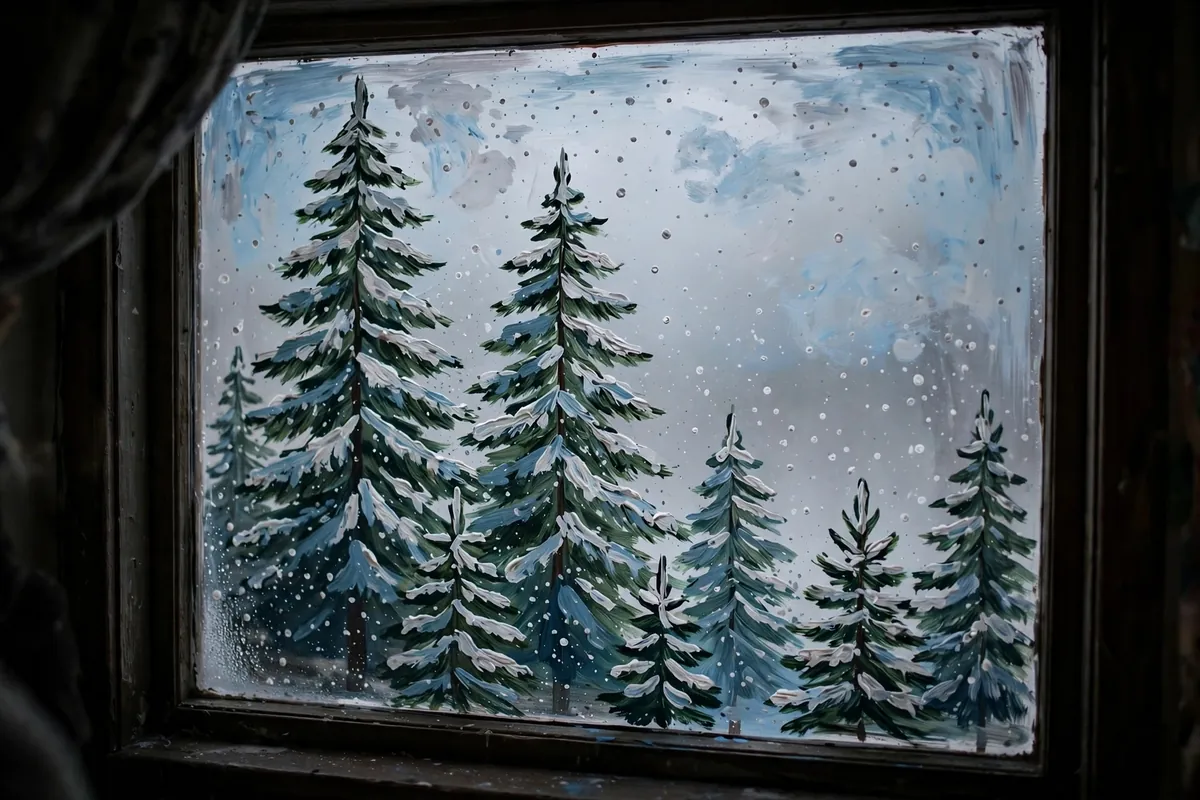
Paint a row of pine trees along the bottom — tall triangles with wavy layered branches, each dusted with white snow on its tips — in different heights so the forest looks natural. A few larger darker trees in front, smaller paler ones behind, gives depth. Use two shades of green tempera: deep forest green for main shapes, lighter green for branch tips. Paint each tree as a solid triangle, add short downward strokes for branch layers, then dab white paint along the top of each layer for snow. A sponge is excellent for snow — dab lightly for a soft powdery effect. Add bare-branched trees in brown for variety, and finish with a pale blue wash, white dots for falling snow, and a soft white drift along the bottom.
14. Christmas Ornaments and Baubles on Glass

Paint a row of baubles hanging from the top on thin ribbons, each a perfect circle in a different colour: deep red, forest green, gold, silver, icy blue and blush pink. Add a small white highlight dot on each to make it look shiny and glass-like, and a tiny bow where the string meets the bauble. Use a round object as a stamp — bottom of a glass, bottle cap or round sponge dipped in paint — for a flawless circle every time. Use different sized stamps so they vary, hang them at different heights. A paint pen is ideal for the thin gold or silver strings and highlight dots. Best when baubles are the only thing on the window, with plenty of clear glass around them — try one colour family, all gold and cream or all red and green, for a coordinated look.
15. Holly, Berries and a Wreath
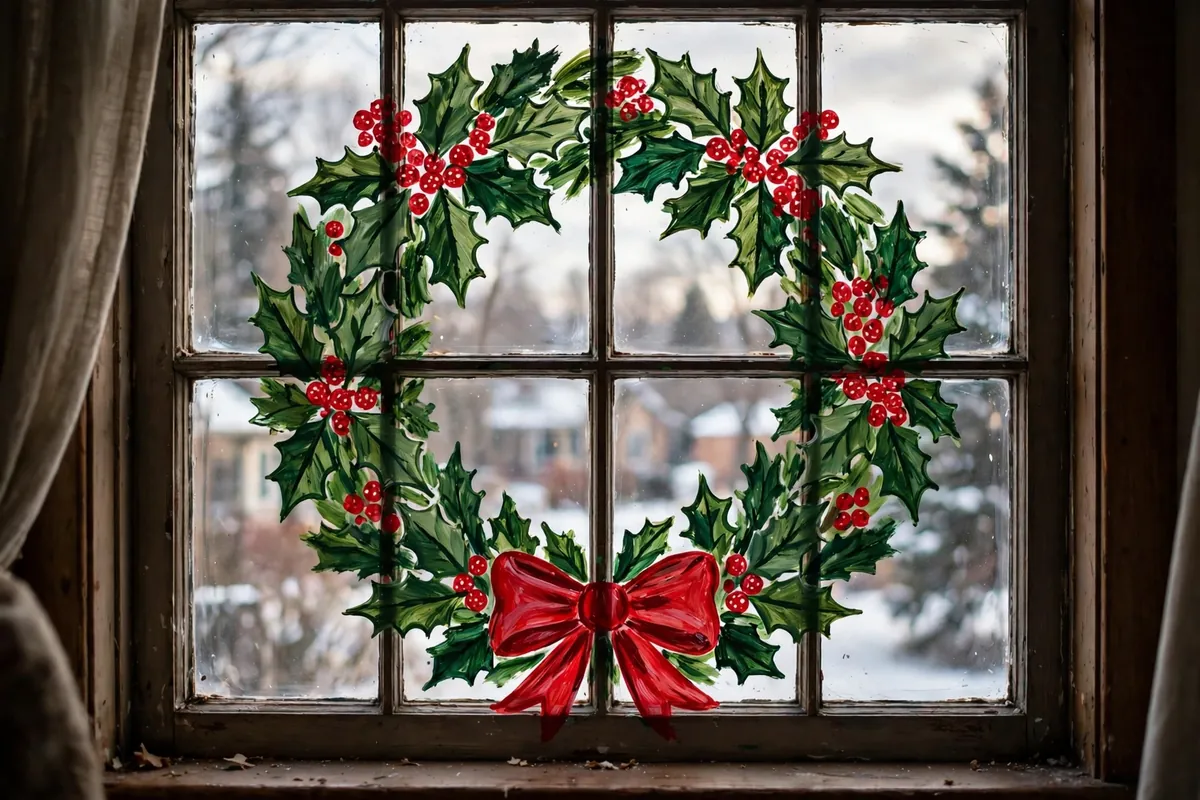
Paint a big wreath in the centre — a ring of green holly leaves with clusters of bright red berries, tied at the bottom with a big red bow — and let it be the whole design. A wreath is naturally symmetrical, which makes it forgiving: if one side is fuller, it still looks like a real wreath. Paint a thick green ring first, then add holly leaves as pointed ovals around it, overlapping so the circle looks full. Berries are best with a fingertip or round sponge dipped in red paint — press gently for perfect little berries in clusters of three. A paint pen is ideal for thin stems and the bow in bright red with two loops and long tails. Add gold dots or glitter among the leaves. Especially lovely on a front door window or small square window.
16. Advent Countdown Window
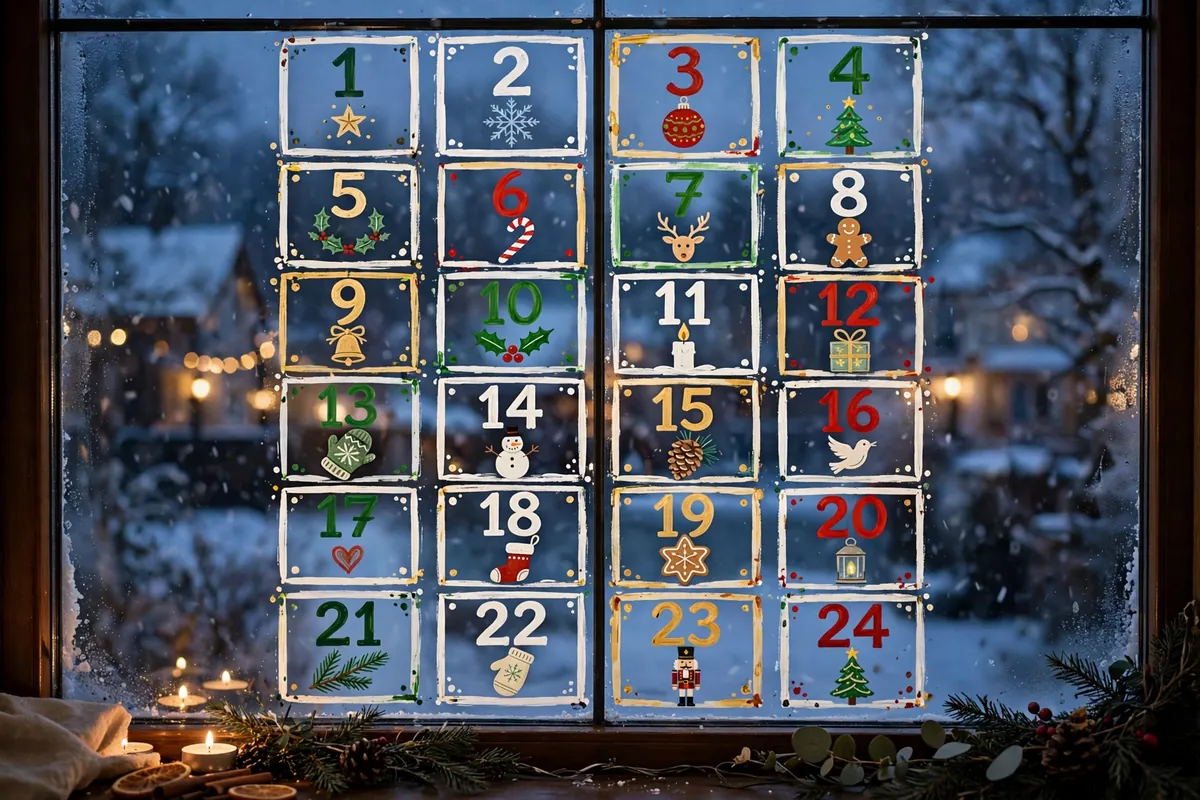
Paint a grid of 24 numbered squares or little doors — four rows of six, or six rows of four — each decorated with a tiny picture: star, snowflake, bauble, candy cane, tree, present. Every morning in December, colour in one more square, or wipe off one more number, and watch Christmas creep closer. Use a paint pen for the grid and numbers, because neat lines matter. Paint the grid in white or gold, fill each square with a different colour or tiny picture, so the window gets more colourful as December goes on. Numbers should be large and clear, 1 to 24, and Christmas Day should be the biggest and brightest — gold with a big red star, or Santa himself. Paint the grid and first few squares, then add one a day with the children.
17. Kids’ Handprint Reindeer and Fingerprint Snowmen
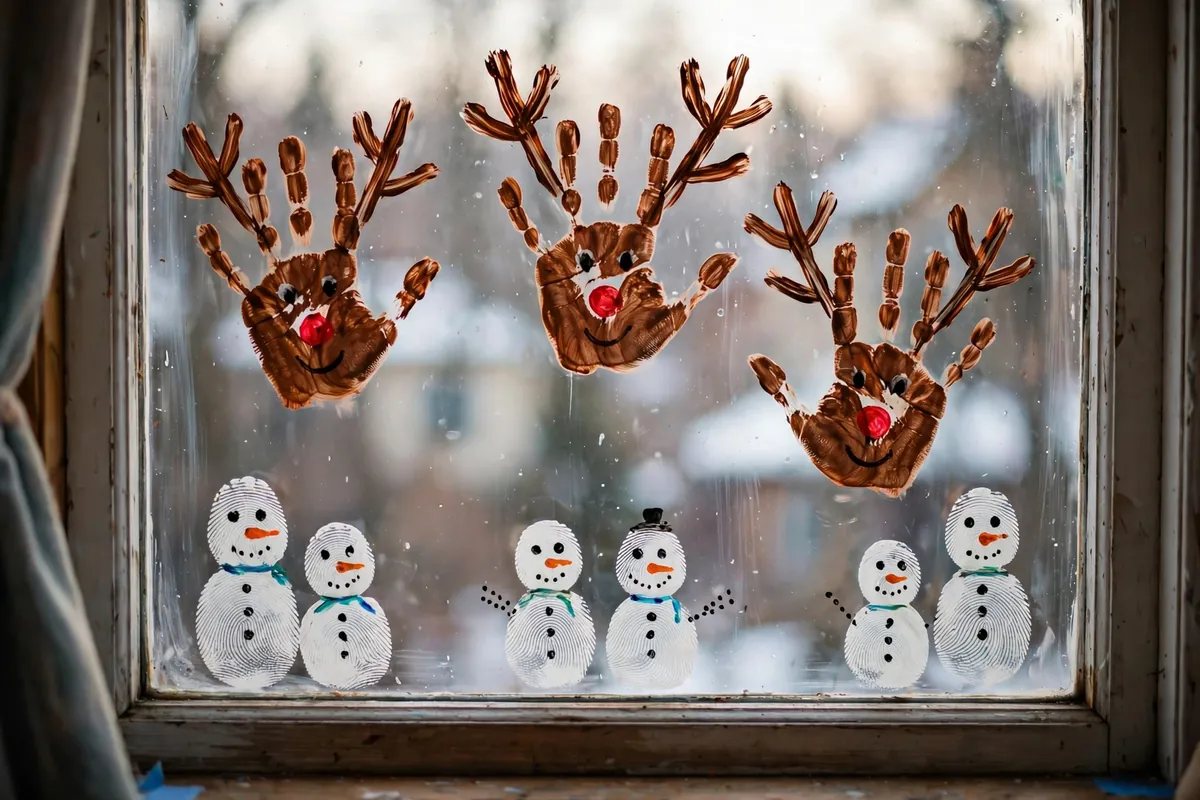
For a reindeer, paint a child’s hand brown and press it onto the glass — fingers down, thumb to one side — the handprint becomes the reindeer’s face, fingers as antlers, thumb as an ear. Add a red nose, dot eyes and a smile with a paint pen. For fingerprint snowmen, press a fingertip dipped in white paint three times in a little stack, then add a carrot nose, coal eyes and a scarf. Use washable, non-toxic tempera paint — safe on skin, washes off hands, wipes off glass in January. Paint the hand with a brush rather than dipping it, press firmly for a few seconds before lifting straight off. Write the child’s name and the year underneath each handprint, so the window becomes a keepsake to photograph. Lay newspaper on the sill and keep a damp cloth nearby — it is the messiest idea on the list, and the most joyful.
18. Elegant Gold and White Minimalist Window
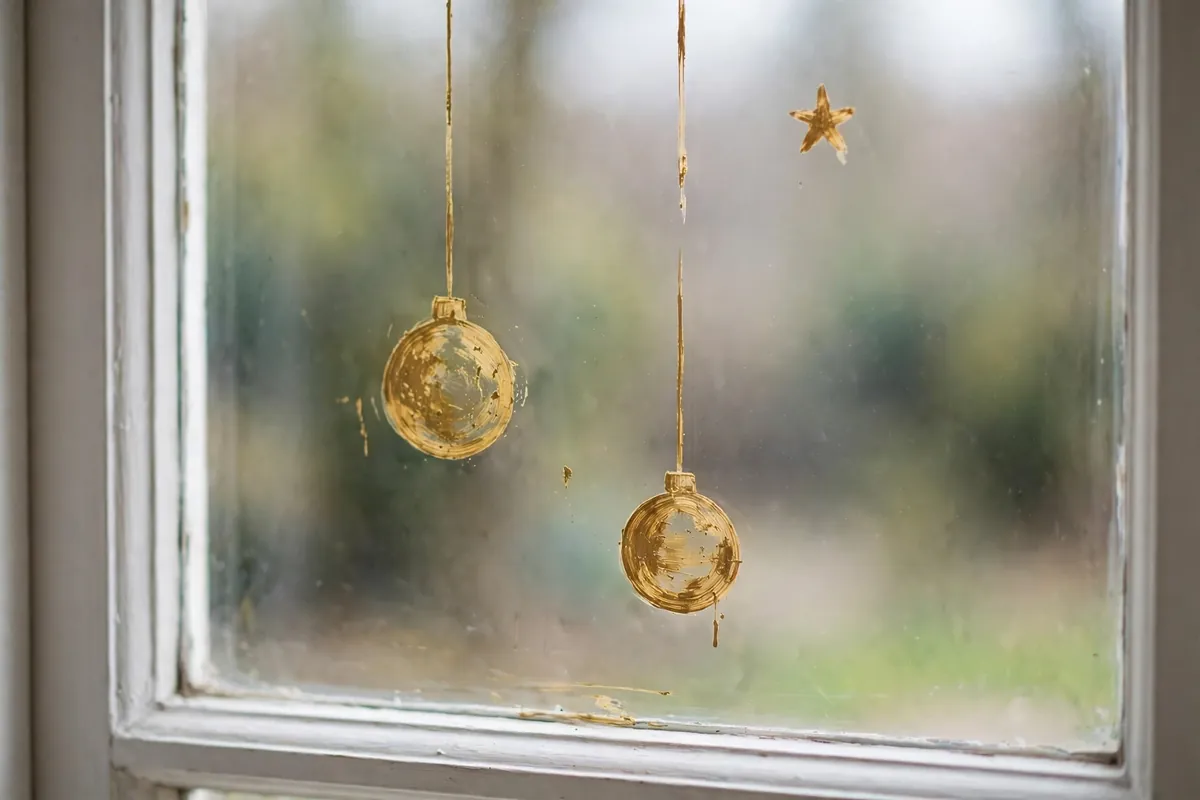
Paint a few elegant gold baubles hanging from thin gold lines near the top, a single gold star in the centre, and a delicate sprig of white berries or a thin gold garland along the bottom — and then stop. The point is the empty space: clear glass, light coming through, just a few perfect gold details. Use metallic gold paint or a gold paint pen, because ordinary yellow looks flat against glass. Gold acrylic paint pens give a smooth shiny line; a brush and metallic gold tempera is better for larger shapes like the star. Paint baubles as simple circles with a small white highlight dot, hang them from lines of different lengths so they cascade gently, add a single gold bow where lines meet the frame. Paint one element, step back, look from across the room before adding anything else — if it already looks finished, leave it alone.
19. Full-Window Winter Wonderland Night Sky
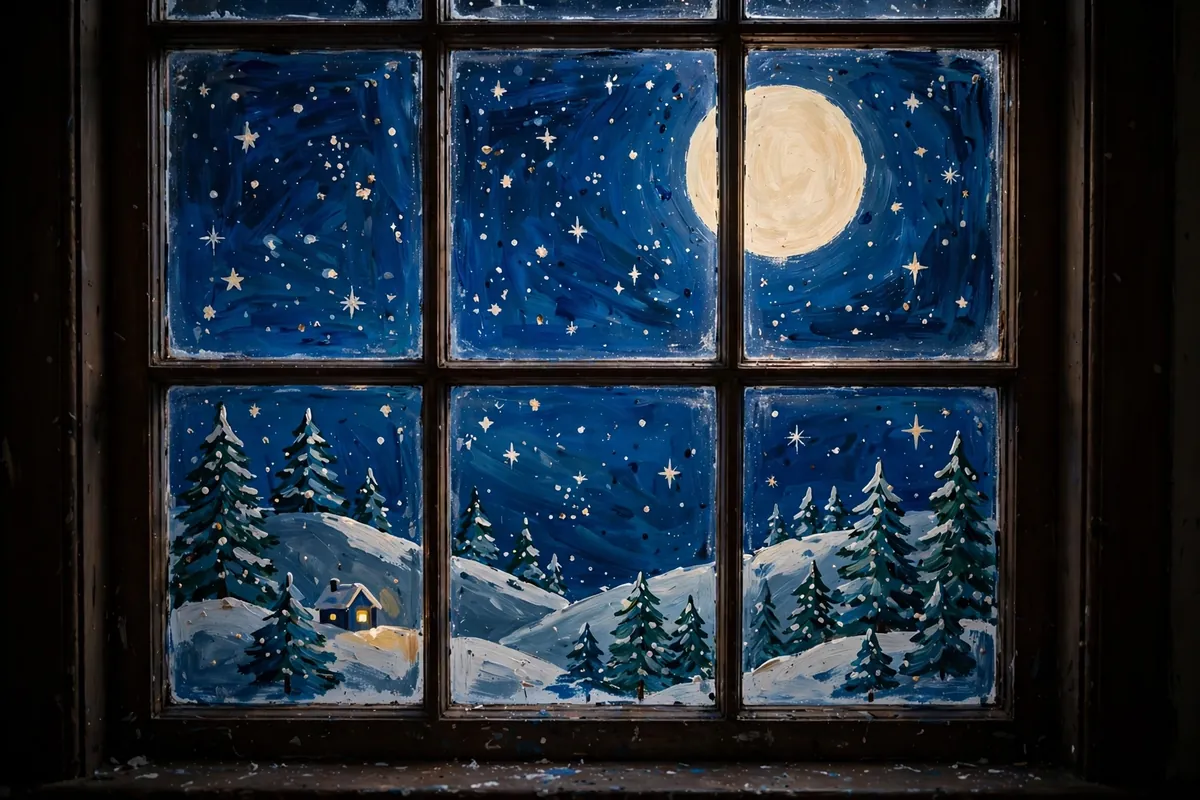
Turn the whole window into a winter wonderland night sky. Wash the entire pane in deep blue or midnight blue, paint a big cream moon in one corner with craters, scatter stars of every size, add a snowy landscape along the bottom — white hills, dark pine trees, a tiny house with a glowing yellow window. A full-window wash needs a sponge or large soft brush, not a paint pen. Use washable tempera thinned with a little water, apply in thin layers letting each dry, so the blue builds gradually without streaks. Paint the moon with a round sponge dipped in cream paint, add stars with a paint pen or by flicking white paint off a toothbrush for a spray of tiny stars, plus a few shooting stars. Set aside a whole afternoon — paint it on a window you do not need to see through clearly for a few weeks.
Make It Yours
You don’t need all nineteen ideas — pick the one that made you smile, gather a few washable paints and a brush, and give yourself an afternoon. One snowflake or one candy cane is enough to start. Before you start, remember: use washable tempera paint or acrylic paint pens so the design wipes off in January with warm water and a little washing-up liquid, sketch big designs in chalk first, work from the top of the window down, keep a damp cloth nearby, and take a photo of each window when finished. Save this post, share it, and tell us in the comments: which of these 19 window painting ideas are you trying first? Happy painting — and happy pinning!