I’ve got some fun Christmas wood decor ideas that’ll wow your guests! Start with handcrafted wooden ornaments—grab some pine slices, paint them in festive colors, and hang ’em with twine! Want to go rustic? Make holiday signs from reclaimed wood. Don’t forget a DIY wooden Christmas tree from old planks; it’s a showstopper! And hey, miniature wood villages are adorable! Trust me, your home will feel festive in no time. Stick around for more crafty tips to amp up your holiday décor!
Design Highlights
- Create unique handcrafted wooden ornaments using slices of pine, paint, and twine loops to enhance your Christmas tree’s charm.
- Design rustic wood holiday signs from reclaimed wood, featuring festive messages painted in classic colors to welcome guests.
- Build a DIY wooden Christmas tree by stacking cut planks of varying lengths for a tiered effect, decorated with ornaments or lights.
- Make wooden candle holders from scrap wood, varying their heights to add visual interest and warmth to your holiday decor.
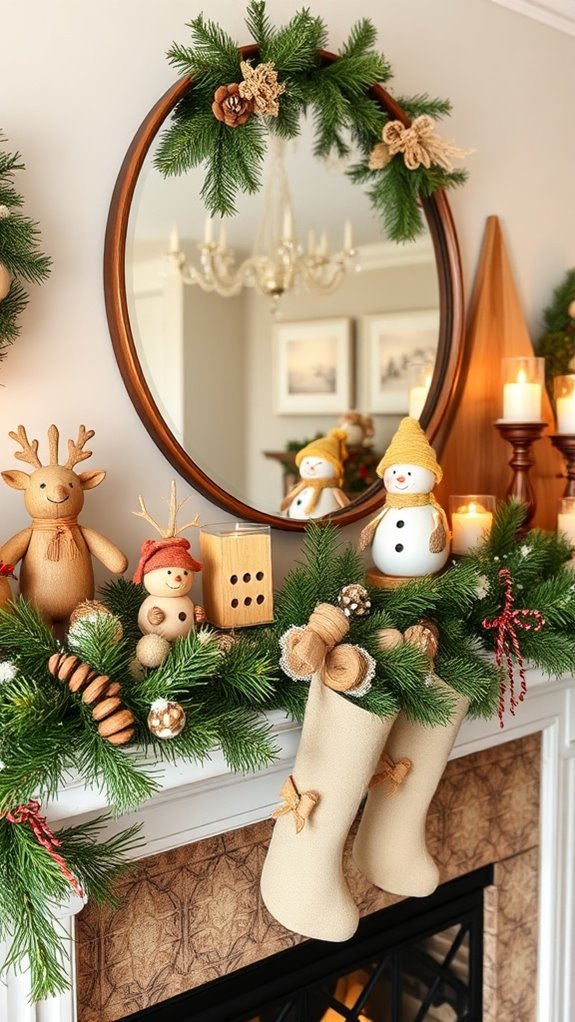
- Personalize wooden stockings by cutting shapes from your favorite wood, then decorating with paint or wood burning for a unique touch.
Handcrafted Wooden Ornaments
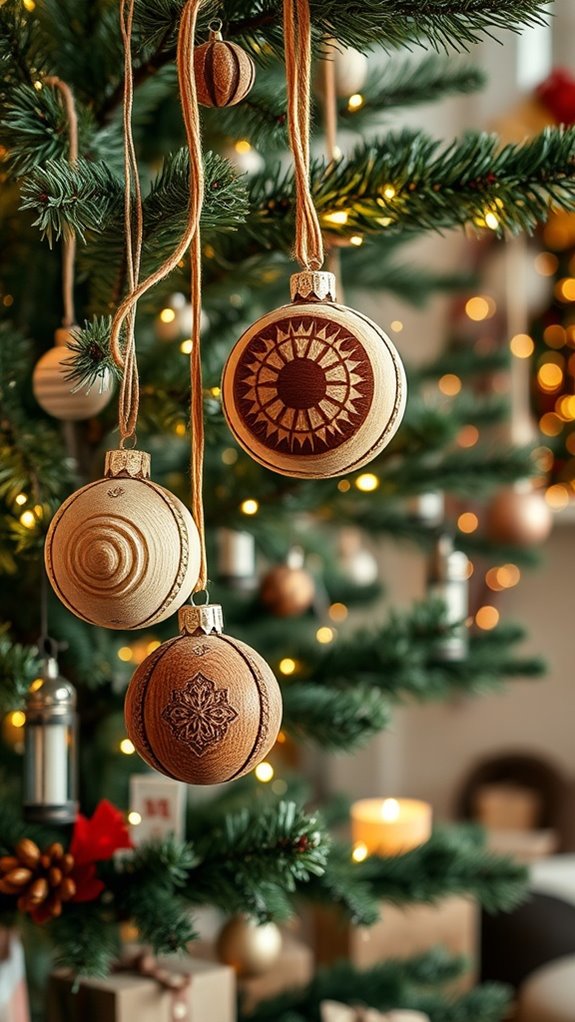
When it comes to decking the halls, nothing beats the charm of handcrafted wooden ornaments—trust me, they’re like the cherry on top of your Christmas tree! Imagine this: a simple slice of pine, some paint, and a dash of creativity. Grab your tools—scissors, paint brushes, and maybe even some glitter (I know, I know, it gets everywhere!). Start by cutting out fun shapes like stars or snowflakes. Then, paint them in your favorite holiday colors. Don’t forget to add a twine loop for hanging; it’s all about the details! If you make a mistake—who cares? Embrace the “unique” look! Your tree will be bursting with personality and charm, and you’ll impress everyone with your crafty skills. Happy decorating!
Rustic Wood Holiday Signs
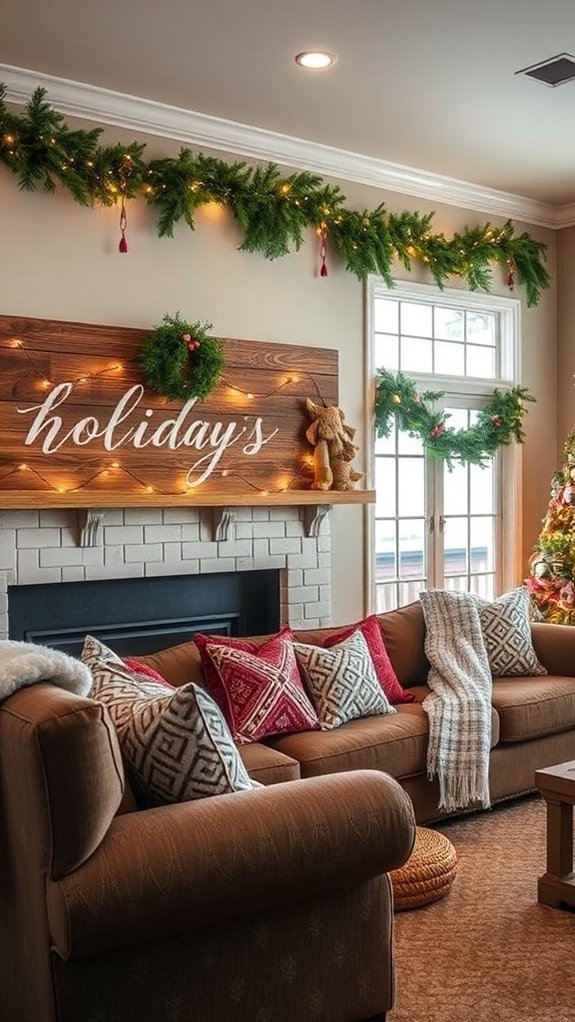
Handcrafted wooden ornaments are fantastic, but let’s take your holiday spirit to the next level with rustic wood holiday signs! Imagine this: a charming sign greeting guests with “Merry and Bright” or “Let It Snow” in bold, inviting letters. First, grab some reclaimed wood; it adds that cozy vibe we love. Sand it down gently—no splinters, please! Next, sketch your design lightly with a pencil. Don’t fret if it’s not perfect; that’s the beauty of rustic! Use a paintbrush or stencil for the letters. I usually choose white or red paint—classic, right? Finally, hang it up with twine for that extra touch. Trust me, your friends will think you’re a holiday decor genius!
DIY Wooden Christmas Tree
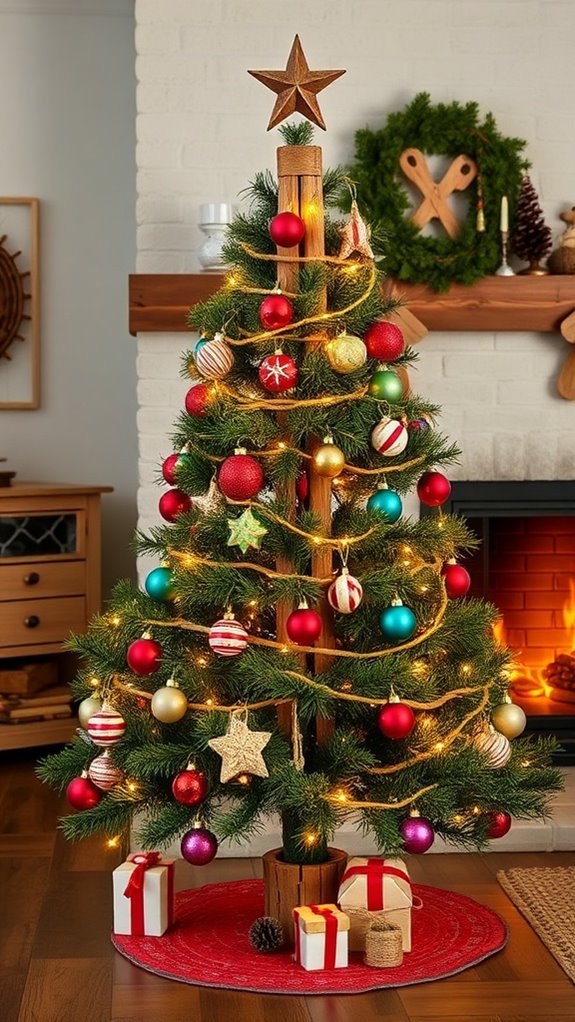
Envision this: a stunning DIY wooden Christmas tree that’s not only festive but also a conversation starter! I made one last year, and let me tell you, it was a hit! First, grab some reclaimed wood planks—thrift stores and your garage are gold mines. Cut them into various lengths for a tiered effect. Stack them like a pyramid, and don’t forget to secure each layer with wood glue or screws. Paint it in your favorite holiday hue or leave it rustic—totally your call! For added flair, hang ornaments or fairy lights on it. And if you’re like me and can’t get the lights untangled, just call it “artistic chaos.” It’s quirky, charming, and will definitely brighten your holiday!
Wooden Candle Holders
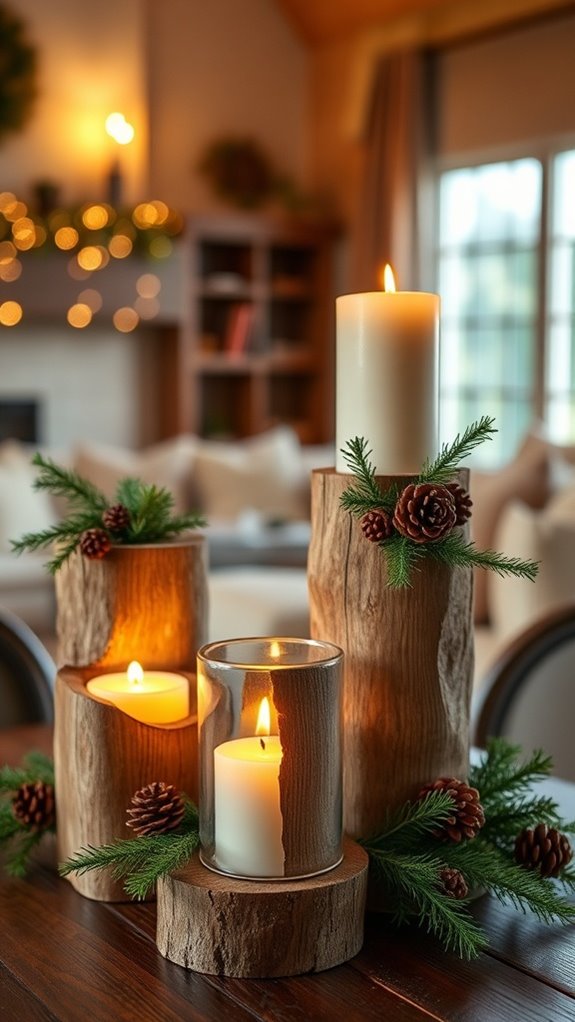
If you’re looking for a charming way to add warmth to your holiday decor, wooden candle holders are the perfect solution! They’re simple to make, and trust me, you’ll impress everyone. Here’s how to create your own:
- Choose your wood: Grab some scrap wood or buy a few blocks from the craft store. Pine is a great option—it’s easy to work with and smells divine!
- Cut to size: Use a saw to cut your wood into pieces. Aim for heights that vary—like, 4, 6, and 8 inches—for visual interest.
- Drill holes: Use a drill bit to make holes for tea lights or taper candles. Just don’t drill through your fingers; that would be a real bummer!
Now, light ’em up and enjoy!
Personalized Wood Stockings
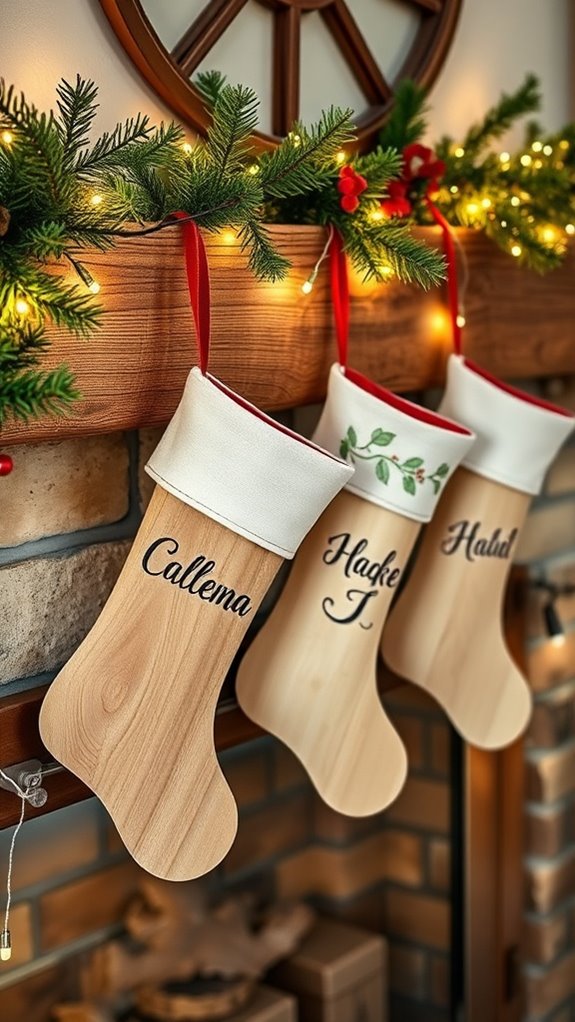
After getting crafty with those wooden candle holders, it’s time to take your holiday decor to the next level with personalized wood stockings! Trust me, these unique stockings will be the talk of the holiday season. To create them, pick your favorite wood type, cut it into stocking shapes, and sand those edges until they’re smooth as butter. Then comes the fun part—decorating! Use paint or wood burning to add names or festive designs.
Here’s a quick reference table to inspire your designs:
| Stocking Shape | Design Idea | Color Scheme |
|---|---|---|
| Classic | Snowflakes | Red and White |
| Rustic | Tree Motif | Green and Brown |
| Modern | Geometric Patterns | Black and Gold |
| Whimsical | Elf Theme | Bright Colors |
| Vintage | Santa Face | Traditional Red |
Get creative, and enjoy the process!
Wood Slice Table Centerpieces
Wood slice table centerpieces are like the cherry on top of your holiday decorating sundae! They add warmth and a rustic charm that can’t be beaten. Plus, they’re super easy to customize. Here’s how to make yours pop:
- Choose Your Slice: Start with a wood slice that suits your table size. Bigger isn’t always better—balance is key!
- Decorate with Nature: Add seasonal elements like pinecones, berries, or even twinkling fairy lights. I mean, who doesn’t love a little sparkle?
- Personal Touch: Consider painting or staining your slice with a festive design or your family’s initials. Just a note—don’t forget to wear gloves unless you enjoy looking like you’ve been finger-painting!
Trust me, these centerpieces will steal the show at your holiday gatherings!
Festive Wooden Garland
Looking to add a little extra flair to your holiday decor? A festive wooden garland might be just what you need! Grab some thin wood slices—think about 2-3 inches in diameter—and paint them in vibrant holiday colors. You can even write cheerful words like “Joy” or “Noel” on them! Next, use a sturdy twine or string and thread the slices, spacing them out evenly.
Hang your garland across a mantel, drape it on a staircase, or even use it as a table runner. It’s super versatile! And hey, if you make a few extra slices, you can scatter them around for a cohesive look. Trust me, you’ll impress your guests—just don’t trip over the twine!
Reclaimed Wood Wreaths
If you want to bring a touch of rustic charm to your holiday decor, you’ve got to try making a reclaimed wood wreath! It’s easier than you think, and trust me, it’ll impress your guests. Here’s how to do it:
- Gather your materials: Find some old wood (think pallets or fence boards) and cut them into even pieces. You can even use a saw, if you don’t mind risking a splinter or two—just kidding, safety first!
- Shape your wreath: Form a circle by gluing or nailing the pieces together. Don’t worry if it’s not perfect; it adds character!
- Decorate: Add some pinecones, berries, or a cute bow. Voilà! You’ve got a stunning wreath that screams holiday spirit.
Wooden Advent Calendar
After you’ve crafted that beautiful reclaimed wood wreath, why not keep the festive spirit rolling with a personalized wooden advent calendar? Trust me, it’s easier than it sounds! Grab some small wooden boxes or make them from scrap wood—approximately 24 is ideal. Sand the edges to avoid splinters; we don’t want a Christmas injury, right?
Next, paint or stain them in your favorite holiday colors. Number each box, then fill them with treats or small notes. Don’t forget to keep the treats tasty—chocolate will vanish before Christmas!
Attach the boxes to a wooden board or string them up with twine. Voilà! You’ve got a charming calendar that’s not just functional but a festive showstopper! Who knew woodworking could be this much fun?
Miniature Wood Village Decor
Imagine transforming your holiday decor into a whimsical wonderland with a miniature wood village! It’s easier than you might think, and trust me, your friends will be asking where you got it. Here’s how to create your own magical scene:
- Choose Your Village Components: Look for wooden houses, trees, and figures. You can find them at craft stores or online, and they come in all sizes!
- Set the Scene: Arrange your pieces on a beautiful table or shelf. Use different levels—stack a few books or add a DIY platform for depth.
- Add Some Sparkle: Don’t forget fairy lights! They’ll make your village glow like it’s straight out of a Christmas movie (I mean, who doesn’t love that?).
Happy crafting!